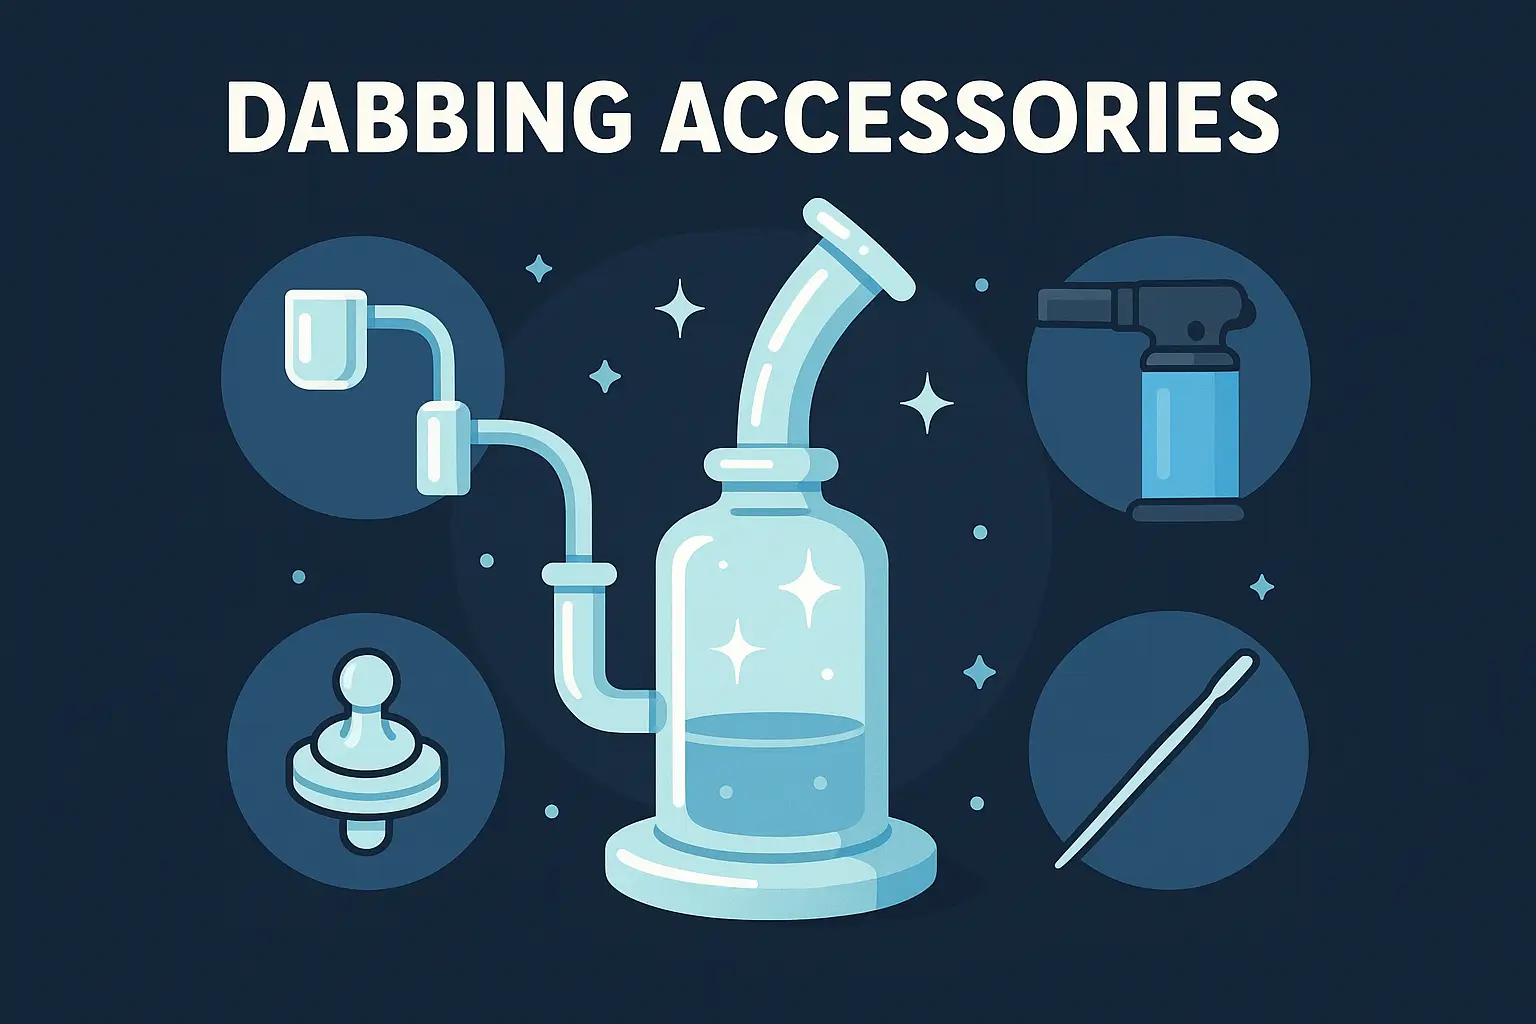
The first-time dab experience resembles entering a futuristic laboratory because it includes torches and carb caps and unusual glass equipment. The basic principle involves using concentrated heat to transform wax concentrates into smooth vapor with distinct flavors.
This guide provides step-by-step instructions for essential accessories to create a budget-friendly dabbing setup which will feel professional from the start.
What It Is & Why the Right Tools Matter
Dabbing is the quick heating of cannabis wax concentrates on a hot surface so you inhale vapor, not smoke. It looks high-tech, but the idea is simple: keep heat low enough to protect flavor while strong enough to melt the dab.
Having a proper dab rig, dab nail, carb cap, and related dab accessories makes or breaks that first try. Cheap, mismatched gear overheats oil, wastes terpenes, and can even produce harmful gases at extreme temps. Think of tools as a “dabber’s arsenal” that turns sticky oil into smooth, tasty vapor—no mess, no stress, and a safer entry point for anyone starting their dabbing journey.
10 Must-Have Dabbing Tools
Below is a concise checklist that gets a beginner fully equipped without busting the wallet.
| Tool | Why Beginners Need It | Quick Tip |
|---|---|---|
| Glass dab rig | Best flavor, easy to see vapor path | Choose borosilicate for durability |
| Quartz banger | Superior heat retention & clean taste | Season before first use |
| Torch or e-nail | Brings nail to the desired temperature | E-nails add digital control |
| Carb cap | Traps heat, lets you dab at lower temperatures | Directional caps help distribute heat evenly |
| Dabber tool / dab picks | Transfers wax without sticking | Stainless or ceramic stay cleaner |
| Silicone dab containers | Non-stick storage for oils | Keep separate flavors in separate pots |
| Terp pearls (add-ons) | Spin in the banger, spreading concentrate | Great for lower temps |
| Heat-resistant mat | Protects counters, organizes setup | Silicone is your best bet |
| Q-tip & isopropyl alcohol | Instant after-dab cleaning solution | Wipe banger while warm, not hot |
| Reclaim catcher | Captures excess oil, keeps rig tidy | Saves money and simplifies cleaning |
Most of these accessories cost under $30 each, proving you can build a quality dabbing setup that still feels premium.
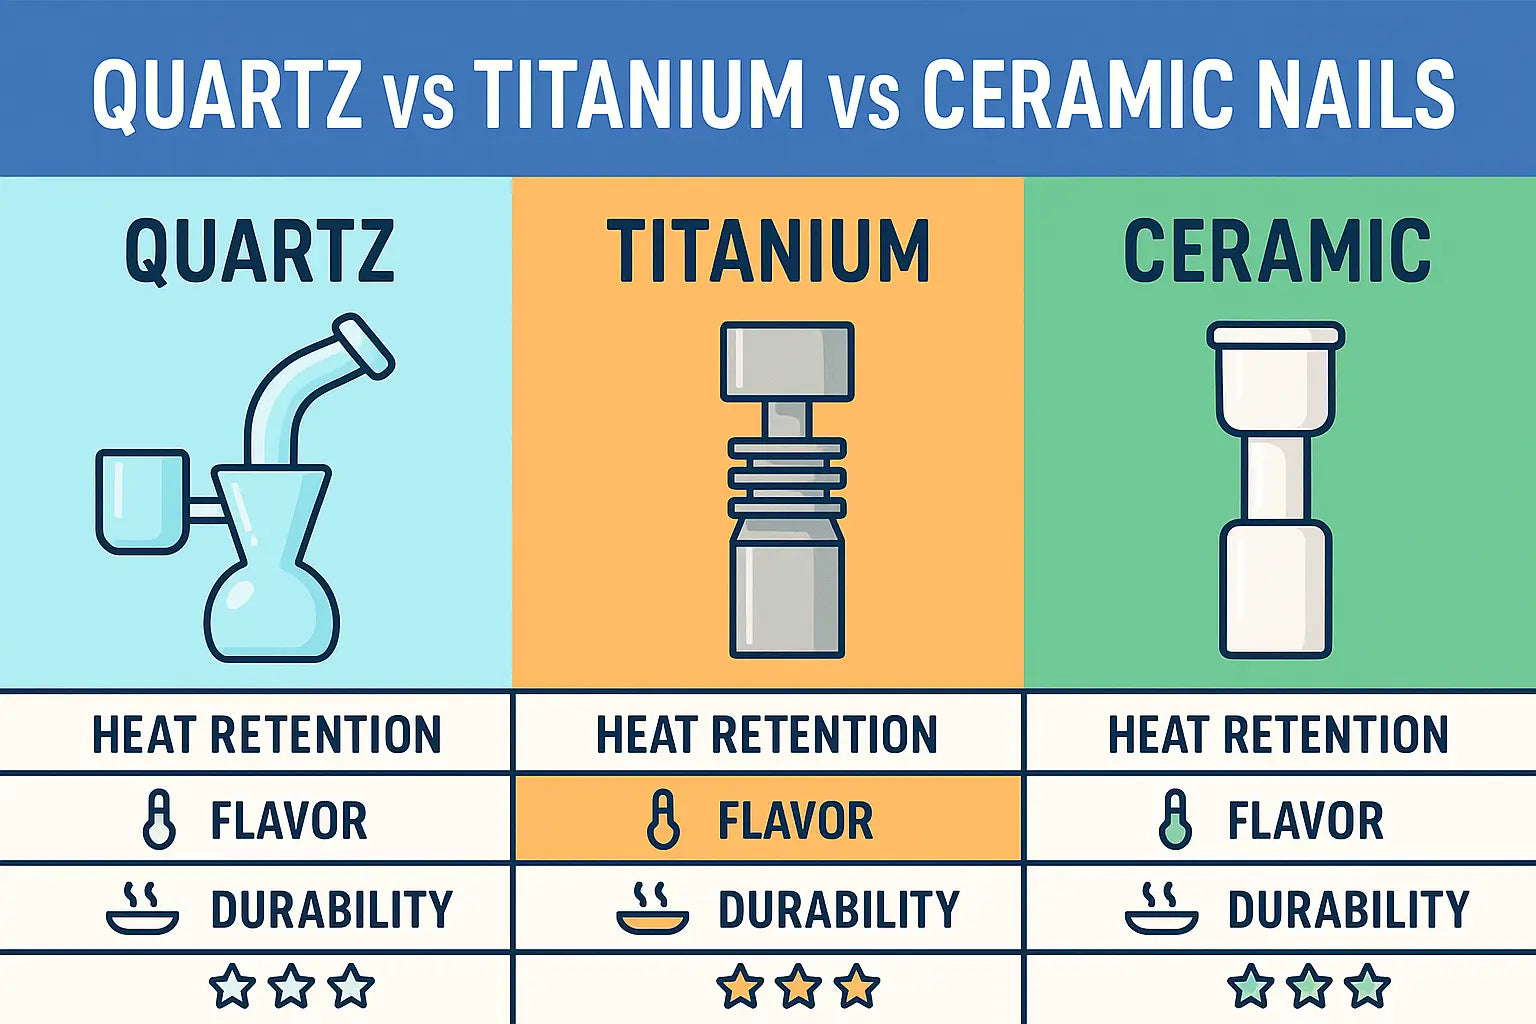
Choosing Your Nail
Your dab nail is where all the chemistry happens.
- Quartz heats fast, cools fast, and keeps flavor bright—ideal for terp lovers.
- Titanium is nearly indestructible but can leach metal oxides if you glow it red-hot.
- Ceramic holds heat the longest, good for long draws, but cracks if you dunk it in cold water.
Remember: not all nails are created equal; matching material to your preferred style makes every dab smoother, safer, and tastier.
Hitting the Sweet Spot
Getting the nail to the ideal temperature is half science, half art. Too hot and you burn terpenes; too cool and oil puddles instead of vaporizes. A cheap infrared thermometer, or better yet an e-nail, takes guessing out of the dabbing process.
Store butane torches according to the U.S. Consumer Product Safety Commission guidelines which specify keeping gas-fuel containers upright and cool in a location out of reach of children. Beginners who follow safe-heat practices will prevent both scorched flavor and wasted concentrate and lung irritants which are fundamental for an enjoyable dabbing experience.
Keep Gear Fresh
A spotless rig is more than aesthetic appeal—it’s basic lung care. After each session, swab the banger with a q tip dipped in isopropyl alcohol, then rinse glass pieces with hot water. Once a week, soak detachable parts in warm alcohol plus coarse salt; follow with hot soapy water, rinse, and air dry on a clean towel. This simple routine keeps flavor sharp, prevents residue buildup, and extends gear life—saving you cash while protecting your lungs. Regular maintenance may feel tedious, but it’s the price of a consistently sparkling clean rig and peak rig’s performance.
Related: How to Clean a Dab Rig
Solventless Rosin & the Extra Tools You’ll Need
If you want all the difference in terp flavor without chemical residue, solventless rosin is your next stop on the dabbing journey. Research firm BDSA reports that rosin already commands 14 % of all “dabbable” dollar sales in the U.S.—double its share just two years ago. Demand for solvent-free extracts jumped 132 % from mid-2021 to mid-2022 alone. To handle these premium waxes you’ll need three add-ons:
- Cold-start quartz banger – lets you load first, heat second, and keep temps under 500 °F.
- Terp pearls – tiny quartz or ruby balls that spin inside the nail and distribute heat evenly at lower temperatures.
- Low-temp carb caps – flat-top or directional styles that trap vapor while allowing steady airflow.
Because solventless rosin is thick and sticky, swap plastic dab picks for glass dabbers or a titanium dab tool with a wide paddle. A quick wipe with a q tip and isopropyl alcohol after each pull will keep that pricey rosin tasting bright and clean.
What Should You Spend?
Building a fully equipped dabbing setup can cost anywhere from a pizza night to a car payment—so let’s break it down:
| Tier | Typical Cost | What You Get | Who It Fits |
|---|---|---|---|
| Starter | $120-$180 | Glass rig, quartz nail, butane torch, dabber, silicone dab containers | Curious first-timer |
| Mid-Range | $250-$400 | Thicker glass, U.S.-made quartz, digital IR thermometer, reclaim catcher | Daily dabber |
| Premium / Smart | $500-$800 | All-in-one e-rig or e-nail, temp presets, haptic feedback, travel case | Tech lover / medical user |
Pro tip: look for Memorial Day, 4/20, and Labor Day bundle deals; retailers clear inventory and you can snag carb caps or terp pearls as cost-effective freebies.
FAQs
What tools do you need for dabbing?
A basic kit includes a dab rig, quartz dab nail, torch or e-nail, dabber tool, directional carb cap, and cleaning staples: isopropyl alcohol, cotton swabs, and hot water.
What are dab tools called?
The catch-all term is dab tools or “dabbers,” but you’ll also hear dab picks, paddles, or glass dabbers—each shape is designed for scooping or loading different consistencies of wax.
What is the best tool for wax dabs?
For flavor and heat control, a quartz banger paired with a stainless or glass dabber tool is the best bet. Quartz retains heat yet cools fast enough to protect terpenes at lower temperatures.
What equipment do I need to make dabs?
Home extraction is risky and often illegal; commercial labs use closed-loop systems with food-grade solvents or hydraulic rosin presses plus lab-grade ventilation. If you’re not a seasoned dabber with proper safety gear, stick to licensed retail concentrates.
Common Beginner Mistakes & How to Dodge Them
- Overheating the nail – Anything above 600 °F scorches oil and can form toxins like benzene. Wait 40 s after the torch or use an e-nail to hit the desired temperature.
- Using plastic dabbers – They melt, leach chemicals, and ruin flavor. Swap for stainless, ceramic, or glass.
- Skipping daily swabs – Residue hardens into a black crust that needs harsh cleaners later. A warm q tip swipe right after each hit keeps cleanup a breeze.
- Storing wax in parchment – In warm rooms oil seeps out, wasting potency. Use food-grade silicone pots for a non-stick seal.
- Torching with cheap butane – Low-grade fuel leaves sulfur smells. Pick refined butane or an e-nail to avoid off flavors and keep the process light on lungs.
Conclusion
The path to success in dabbing depends on three essential elements: (1) selecting proper equipment (2) understanding heat science principles and (3) maintaining equipment cleanliness for flavor preservation. Begin with basic glass rig equipment and quartz banger and reliable dab tool before adding terp pearls and reclaim catcher and upgraded carb caps as your taste preferences develop. The maintenance schedule described above will make each session feel fresh while providing smooth hits and bright terps and no mess.